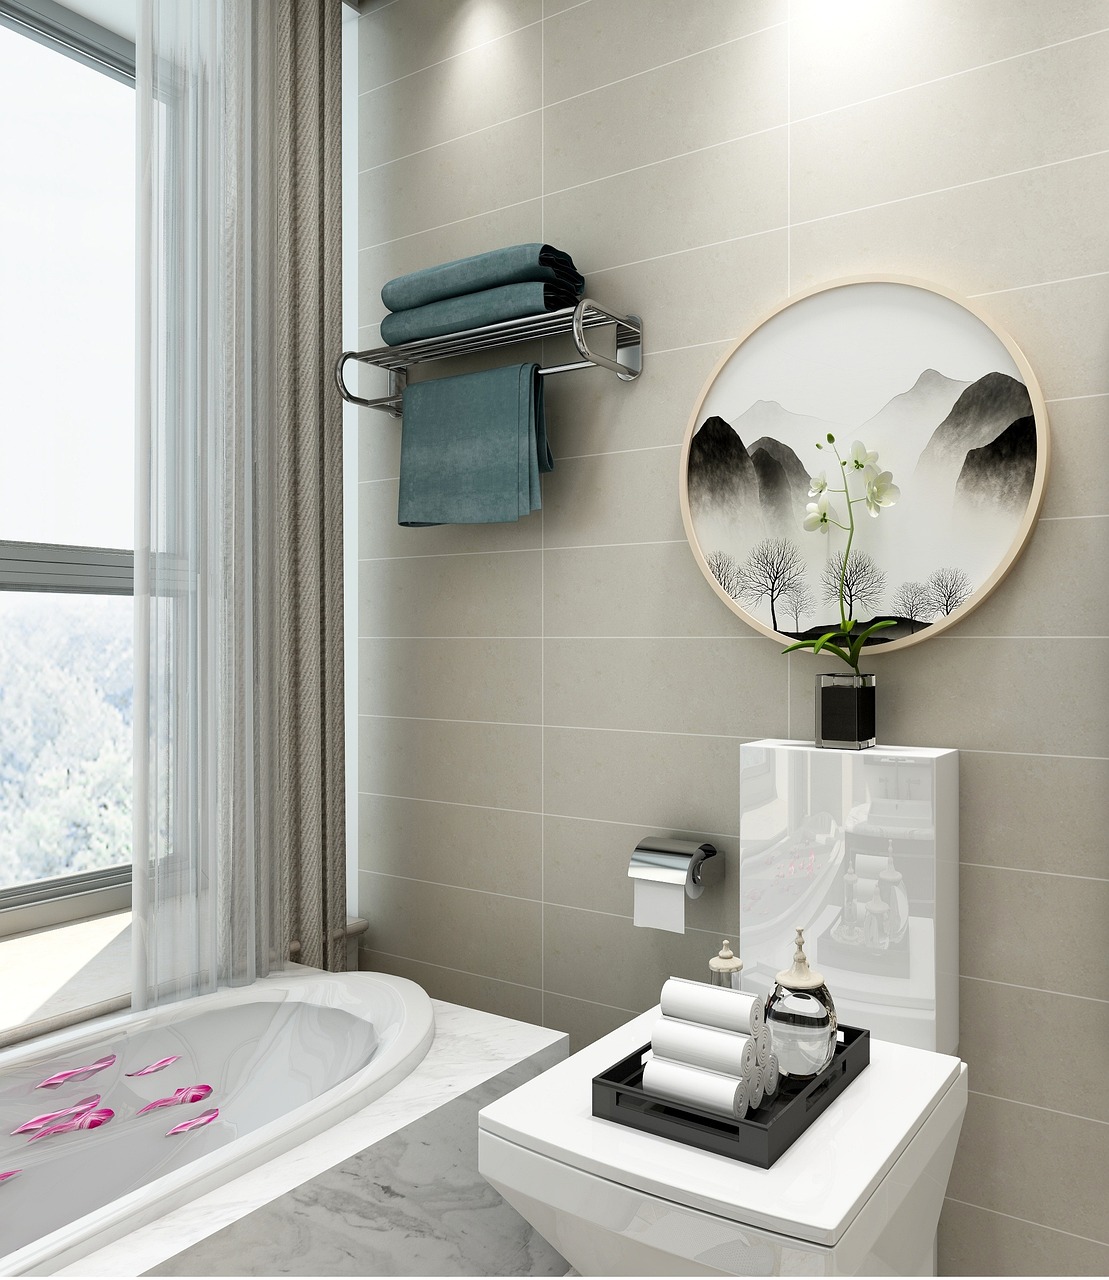
Renovating a bathroom is one of the highest‑impact upgrades you can make to your home. The key to success is smart sequencing: clarify goals, set a realistic budget, lock the layout, select durable materials, and execute with airtight waterproofing and disciplined project management. Align every decision with how you actually live—lighting for daily routines, storage for clutter control, and ventilation for long‑term health. If your project includes a curbless shower, slab changes, or floor leveling, involve a professional concrete contractor early; proper substrate prep determines whether your bathroom feels solid for decades or flexes and leaks within a year.
Planning Your Vision
Decide whether you’re after a spa‑like retreat, a timeless classic, or a durable family workhorse. List must‑haves (larger shower, better lighting, heated floors) and nice‑to‑haves (niche lighting, built‑in speakers). Identify what’s not working now: poor ventilation, lack of storage, or awkward clearances.
Budget and Cost Control
A realistic budget prevents mid‑project compromises. Expect higher labor if moving plumbing or modifying the slab. Keep a 10–15% contingency for surprises behind the walls.
Cost Breakdown by Category
| Category | Typical Share | Notes |
|---|---|---|
| Labor | 35–50% | Increases with plumbing/electrical moves and custom tile work |
| Fixtures & Fittings | 25–35% | Vanity, faucets, shower system, toilet |
| Tile & Finishes | 10–20% | Large format can reduce labor; add 10–15% overage |
| Permits & Inspections | 1–5% | Essential for resale and insurance |
| Contingency | 10–15% | Covers hidden damage and substitutions |
Layout, Function, and Flow
Respect clearances and daily habits. Keep 30 inches in front of fixtures and at least 15 inches from a toilet centerline to side walls. If natural light exists, position the vanity to benefit from it; if not, plan balanced task lighting. Curbless showers require correct recess and slope to keep water contained.
Material and Fixture Selection
Durability matters in wet rooms. Porcelain tile (with a wet DCOF ≥ 0.42) offers traction, while quartz or solid‑surface counters resist stains. Choose a complete waterproofing system to avoid weak points at niches and transitions.
Material Recommendations at a Glance
| Component | Recommended Options | Why It Works |
|---|---|---|
| Flooring | Porcelain tile, heated mats | Moisture‑resistant, stable, comfortable |
| Shower Walls | Porcelain/ceramic tile, solid‑surface panels | Low maintenance, fewer grout lines |
| Substrate | Cement/fiber‑cement board + waterproofing | Prevents mold and failures |
| Countertops | Quartz, solid surface, sintered stone | Non‑porous, easy to maintain |
| Ventilation | 80–150 CFM fan, humidity sensor | Controls moisture, extends finish life |
| Lighting | Ambient + vanity sconces + accent LEDs | Reduces shadows, elevates experience |
Waterproofing, Drainage, and Structure
Waterproofing is non‑negotiable. Showers need a tested system, a 24‑hour flood test, and a floor slope of 1/4 inch per foot to the drain. For curbless entries, plan transitions so water stays in the wet zone. On concrete slabs, trenching for new drains or recessing for linear drains must be executed precisely to avoid structural and drainage issues.
Permits, Pros, and Scheduling
Pull permits for plumbing, electrical, structural changes, and ventilation. Hire a licensed plumber and electrician, a skilled tile installer, and verify insurance, references, and line‑item estimates before work begins.
Quick Wins
- Keep plumbing in place to save costs; reroute only for meaningful layout gains.
- Use large‑format tile to reduce grout lines and speed installation.
- Install blocking in walls now for future grab bars and accessories.
- Choose pressure‑balanced or thermostatic shower valves for comfort and safety.
- Vent to the exterior, never the attic; clean the fan grille quarterly.
Timeline Snapshot
- Design and permits: 2–6 weeks
- Ordering and lead times: 2–8 weeks
- Demo and rough‑ins: 2–5 days
- Subfloor/slab work and leveling: 1–3 days
- Waterproofing and inspections: 1–3 days
- Tile install and grout: 3–7 days
- Final fixtures, glass, and punch list: 2–7 days
Common Pitfalls to Avoid
- Skipping permits, which can jeopardize insurance and resale
- Undersizing the fan, leading to moisture damage
- Using MDF/particleboard in wet zones where it will swell
- Neglecting substrate flatness; tiles need a flat, stable base
- Attempting a curbless shower without expert substrate prep
Quick FAQs
- How much does a bathroom renovation cost? Mid‑range projects often run $10,000–$25,000; custom tile, curbless showers, and rerouting plumbing increase cost.
- How long will it take? Two to six weeks, depending on scope and lead times.
- Do I need permits? Yes for most plumbing, electrical, ventilation, and structural work.
- What flooring is best? Porcelain tile with a slip‑resistant finish; radiant heat adds comfort.
Final Takeaway
Blend planning, durable materials, strict waterproofing, and qualified trades for a lasting result. Proper substrate and slope are the foundation of a great bathroom—work with a professional concrete contractor when your project involves slab changes, floor leveling, or curbless shower preparation.